Take a Stand
by Women's Brain Health Initiative:Headstand (also known as “sirsasana”) is often referred to as the “king” of yoga poses because of its many health benefits. It can be an energizing inversion that strengthens the entire body, particularly the upper body and the core. Other benefits of headstand include improved blood and lymph circulation, stronger lungs, toned abdominal organs, better digestion, and relief from menopause symptoms.Beyond the physical benefits, though, headstand contributes to brain health and function. According to the editors at Yoga Journal, the pose calms the brain, reduces stress, and helps alleviate mild depression. How To Do a Supported Headstand SafelyIf you are interested in giving headstand a try, it is strongly recommended that you do so with hands-on guidance from an experienced yoga teacher. Denise Davis-Gains – a seasoned yogi who teaches both yoga students and yoga teachers-in-training through her business, Altas Studio, in Cambridge, Ontario – has provided some tips on what you might expect as you work with a yoga instructor to add headstand to your practice.“Headstand is an intermediate-to-advanced level pose so you may have a lot of work to do before you’re ready to attempt it,” explained Davis-Gains. “You’ll need to build strength in your shoulders and core, and ensure you have adequate shoulder mobility for starters. So, your instructor may have you practice other poses initially, to prepare your body for headstand eventually. Patience and perseverance are key.” Davis-Gains also pointed out that some individuals may not need a lot of training, though; some will be able to do a headstand on their first try and find ease in the pose quickly.“Your instructor may have you practice headstand using props to modify the pose slightly and ensure safety,” Davis-Gains continued. “For example, you might be encouraged to try a ‘headless headstand’ where you use two stacks of blocks or two chairs to support your shoulders and take all of the weight out of your head and neck.”“When you are ready to attempt headstand, you will likely begin by holding the pose for a very short period of time,” said Davis-Gains. “You will then increase the time you stay in the pose very gradually as you gain experience and strength. Remember, the goal is a sense of ease in the pose. You should be able to breathe evenly and not feel like you’re straining at all.”Headstand InstructionsAs Denise Davis-Gains notes, there are several different forms of headstand. “The one that I teach is supported headstand, where the forearms are resting on the floor and support a significant amount of the body’s weight,” she explained. If you plan to try headstand on your own at home, Davis-Gains provided the following instructions to help you do so safely:
- Find a corner where you can practice. This provides two walls of support to help you balance once you are up.
- Warm up your neck and shoulders before attempting the pose.
- Get down on your hands and knees, with your head pointing toward the corner. Place your hands, with fingers interlaced and wrists rolled inward, eight to ten inches from the corner. Rest your forearms on the ground with elbows shoulder-width apart.
- Place the top of your head on the ground, with the back of your head pressed up against your firmly-clasped hands.
- Press your legs straight and begin walking your feet toward your hands.
- Raise your legs up into the air until they are aligned directly above your head/torso. You can raise your legs either one at a time or both at once. You may need to rest your heels against the walls from time to time to maintain balance. If you find it too challenging to go directly up to a straight-leg position, you might try initially bending at the knee joint and placing your feet on the walls until you feel steady.
- Breathe slowly and deeply while you are in the pose, focusing on keeping most of your weight in your forearms. Only stay up for five breaths or less on your first attempt.
- To come down, slowly lower your feet back to the ground, returning to a hands and knees position with the crown of your head still touching the floor. Pause there briefly, then slowly lift your head and come to kneeling or sitting. Pause again for a breath or two before getting up. Taking your time to come out of the pose is important in order to allow your body to reacclimate slowly to being upright again.
Safety is Critically ImportantWorking with an experienced yoga teacher or making sure that you approach headstand in the safest way possible at home (as described above) is critical. “While headstand, when done correctly, can be amazing, it also has the potential to cause injuries,” warned Davis-Gains.According to a 2019 research paper published in the American Journal of Respiratory and Critical Care Medicine, by P. Chabra and colleagues, there have been reported cases of headstands causing multiple injuries, including musculoskeletal, neurological, and ophthalmic injuries. Some of these injuries are caused by exposing the head and neck to weight, and others are caused by increased blood pressure in the upper body.Who Should Avoid Doing Headstand?While headstand has the potential to provide wide-ranging benefits, the pose is not suitable for everyone. For instance, people with back or neck injuries, high blood pressure, stroke, eye problems, or a heart condition should not attempt the posture.Also, people who experience migraines or balance issues might want to avoid headstand as it may aggravate those conditions. The pose should be avoided during pregnancy, unless the woman already has a well-established headstand practice (in other words, pregnancy is not the time to begin doing headstand).Alternatives to HeadstandIf headstand is not suitable for you for any reason, there are many other inversion poses (pictured below) that you could try that provide similar benefits, including:
- Dolphin;
- Tripod headstand with knees on elbows;
- Bridge;
- Legs-up-the-wall; and
- Downward-facing Dog.
These inversion poses can help you build a solid foundation for doing headstand in the future, or they may be performed as an alternative to headstand.Davis-Gains emphasized that there is no need to fear headstand, and pointed out that the pose can be instrumental in helping people build confidence off the yoga mat. While the pose definitely is not for everyone, it is not something we should all shy away from.“When our kids go out to play and try new things with their bodies like somersaults and cartwheels, they often come home with minor ‘injuries’ but we don’t discourage them from continuing their play-based experiments. We recognize that sometimes to learn something new and experience benefits in our bodies, we need to take some chances in life,” she said. “Sometimes we have to be willing to take a calculated risk to learn and grow. Headstand can be like that. It’s a pose that many people could do safely if they approach it with patience and, ideally, expert guidance.”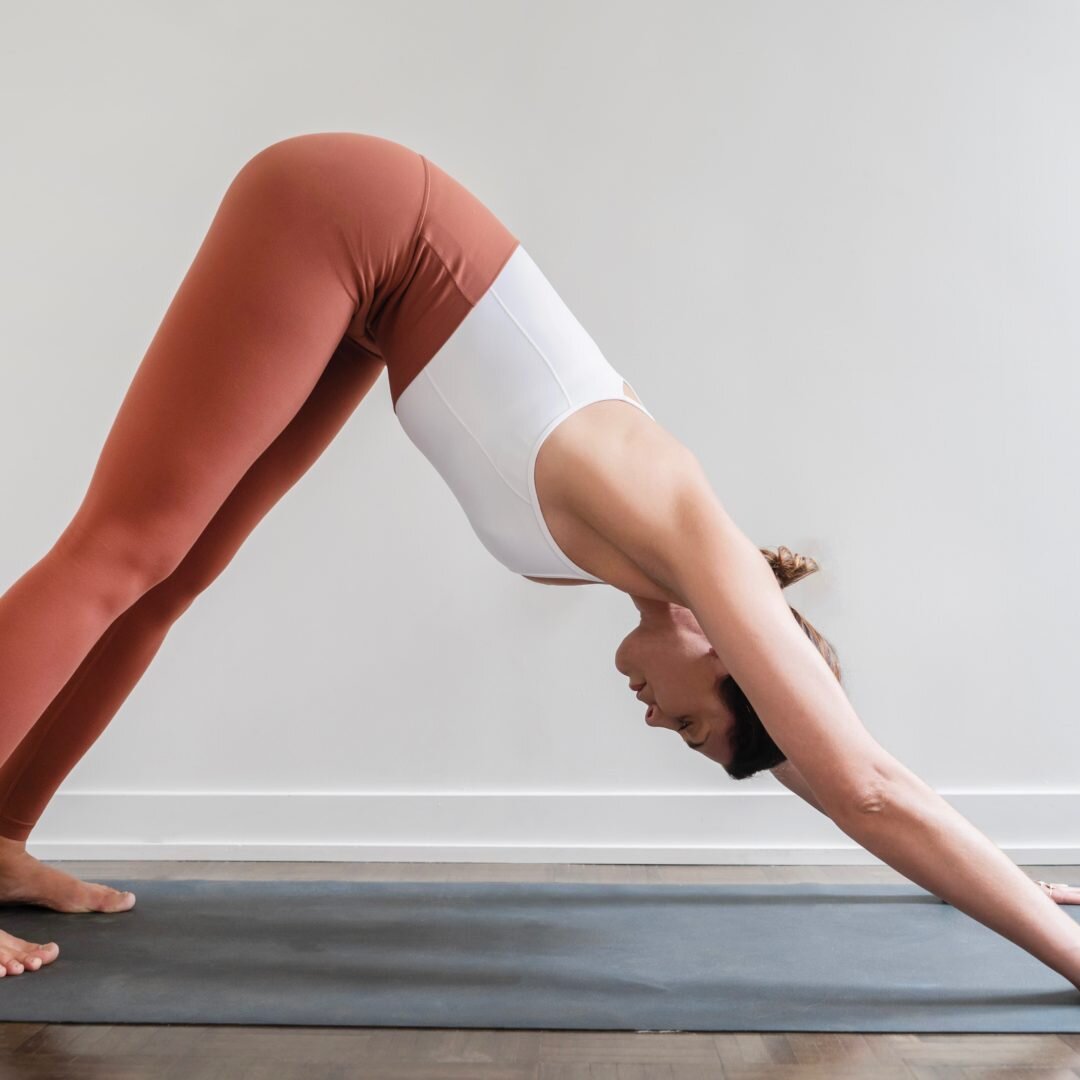 Downward-facing dog: This pose provides a partial inversion, with the head below the hips. It also opens and strengthens the upper body.
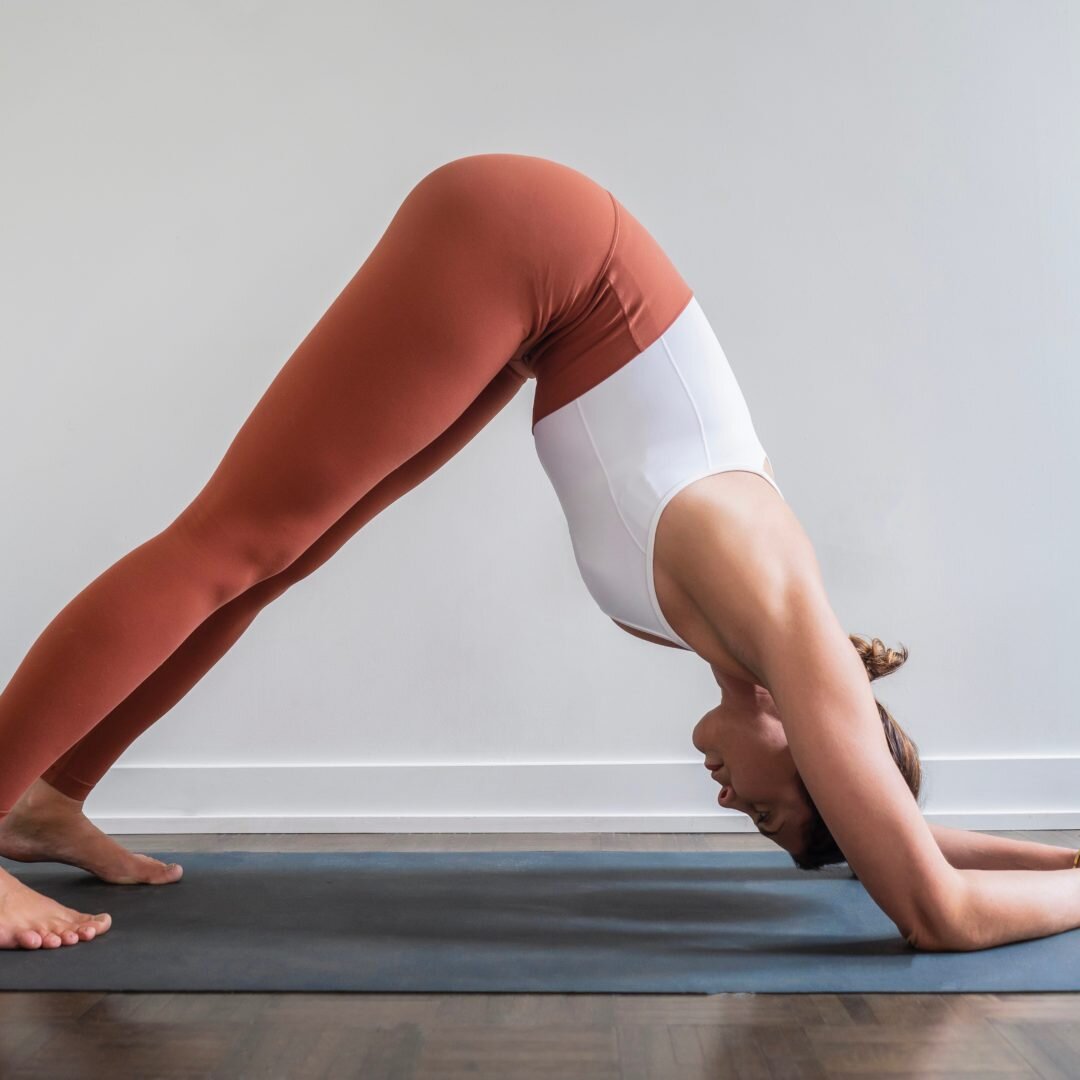 Dolphin: This pose provides a partial inversion while strengthening the core and upper body, and opening the shoulders.
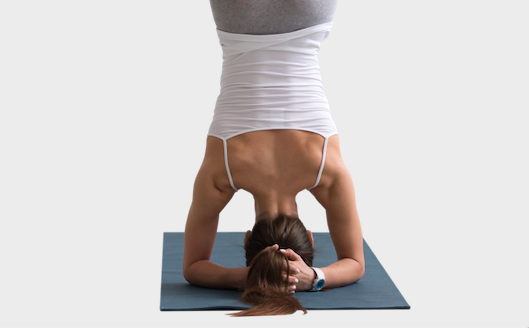
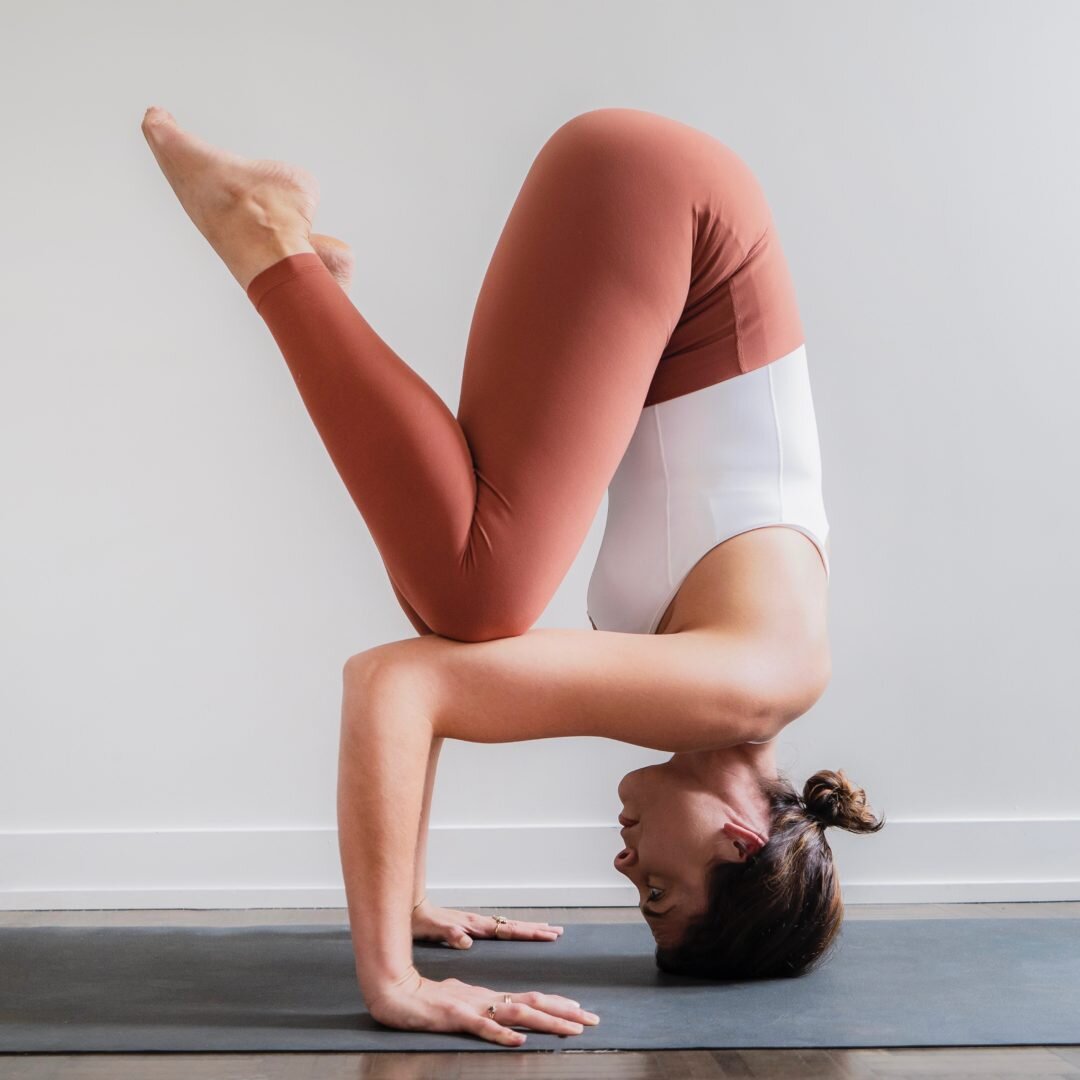 Tripod headstand with knees on elbows: This variation of tripod headstand is a partial inversion that allows you to build upper body strength, work on balance, and experience placing some weight on the crown of the head.
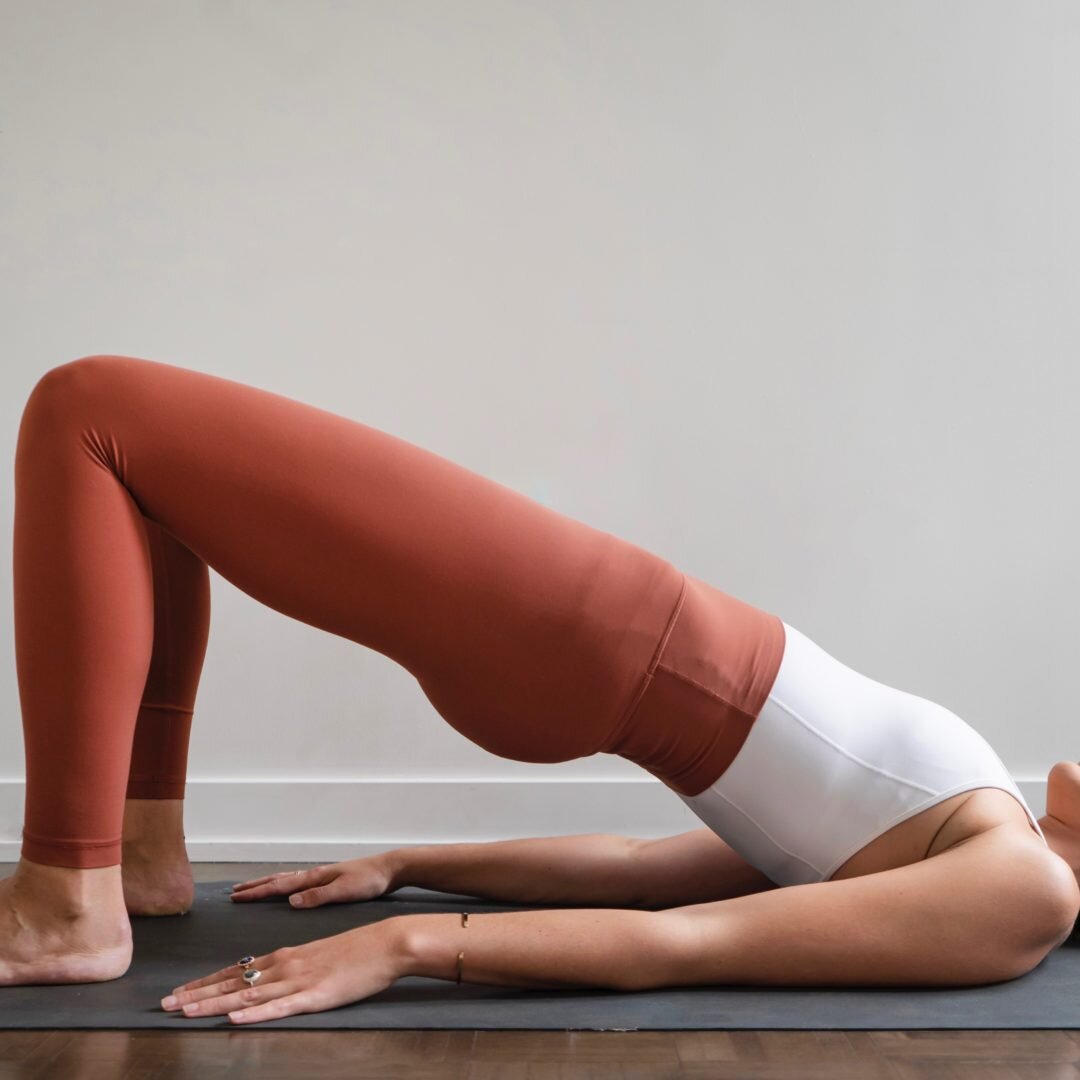 Bridge: This pose is a partial inversion, with the head slightly below the hips. It will help you open through the front line of the body, from collarbones to knees.
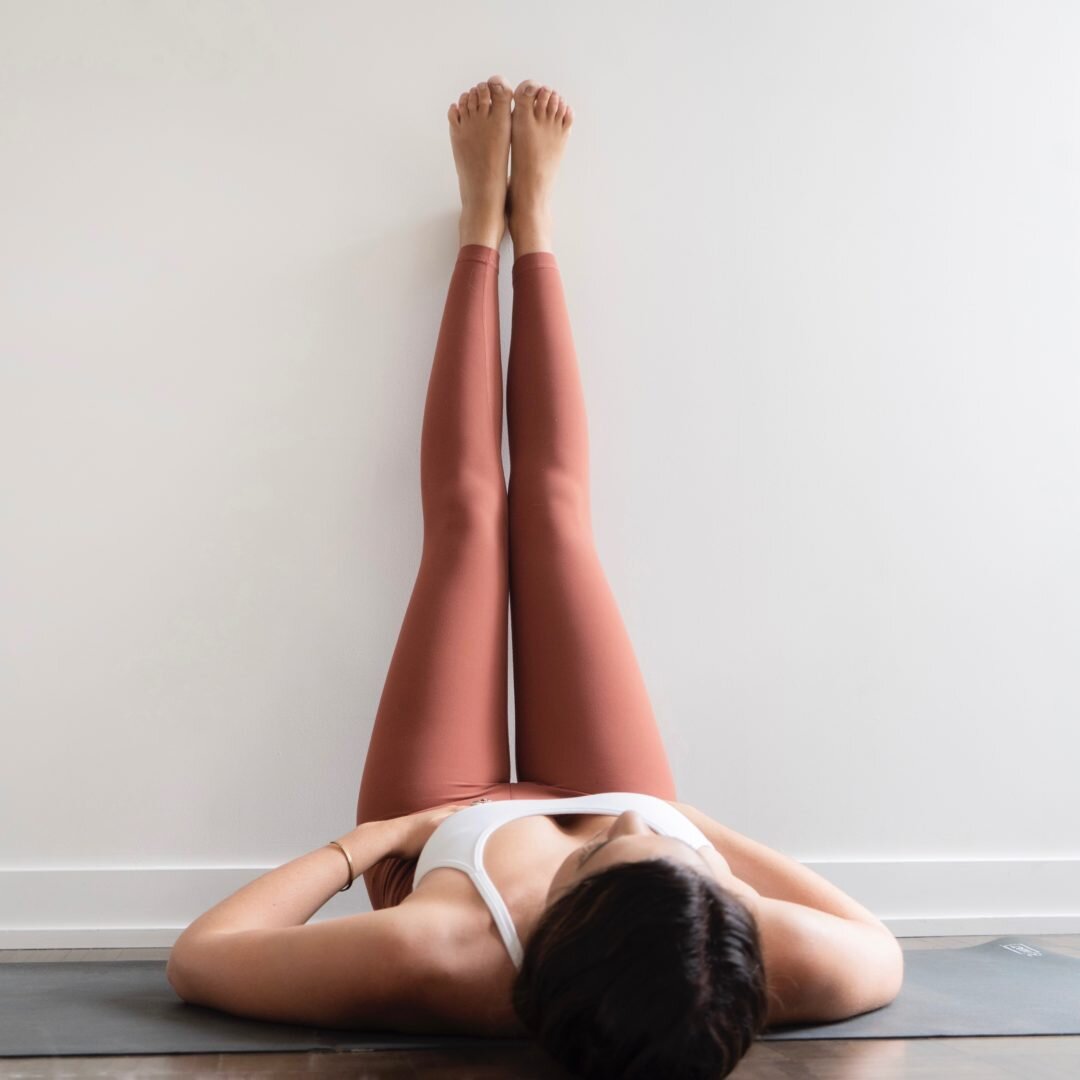 Legs-up-the-wall: This is a relaxing partial inversion, with the feet above the head/heart. If done with the lower back resting up on a bolster, it also elevates the heart slightly above the head.